Many people have asked
what it takes to make an IDLE-TYME
Clock. Or complain why it is
taking so long to get one. Or
after checking them out, complain
that they cost too much, and ask
why are they so expensive?
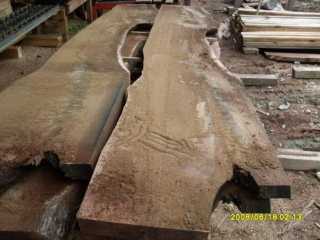
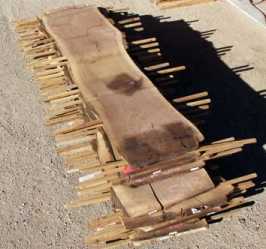
Below I hope will answer these questions. In addition when it comes to price, I actually if you factor in for inflation, I am currently making them for far less now than they were when we were making them in the 70's and 80's. If I were to take that price we were selling them for in the 70's and 80's and add in for inflation, I should be selling them for between $500 and $600 dollars! And that is the wholesale price from US! Take the typical average retail price what clock and gift shops were selling them for back then, and add in for inflation, and the clocks today would sell for. $1000 to $2000. Which does make sense. Because I have seen them sell on E-Bay for $1800 dollars! But because of my much lower overhead, Just me, no employees, working out of my basement in my home, I am more or less able to be offering them for inflation adjusted price of less than half of what we were selling the clocks for back in the 70's and 80's A few I have somewhat sent an E-Mail reply with a brief description of what it takes to make one of these clocks. But I felt maybe a detailed description is needed, so here it is. This first section I do not do here in my Basement for obvious reasons, But I did feel some people may find it amazing that these tiny pieces of wood I make the clock from, started off as a part of a several thousand pound tree that could have been over 100 years old! Some exceeding 200 years in age!
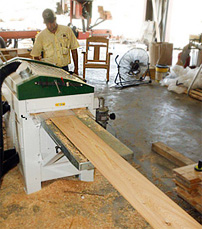
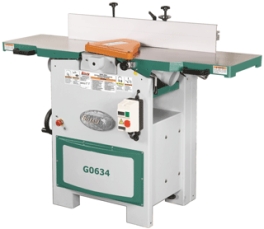
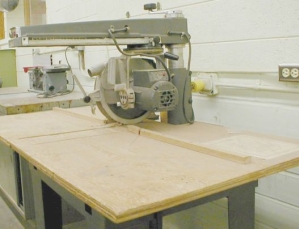
The wood now goes through several machines that prepare these giant pieces of wood, that are 8 feet long and up to 12 inches wide and weigh about 50 pounds! They are still rough cut from the sawmill. Running these boards through machines like these here below, makes these rough sawed boards ready to be cut into the parts for the clock.
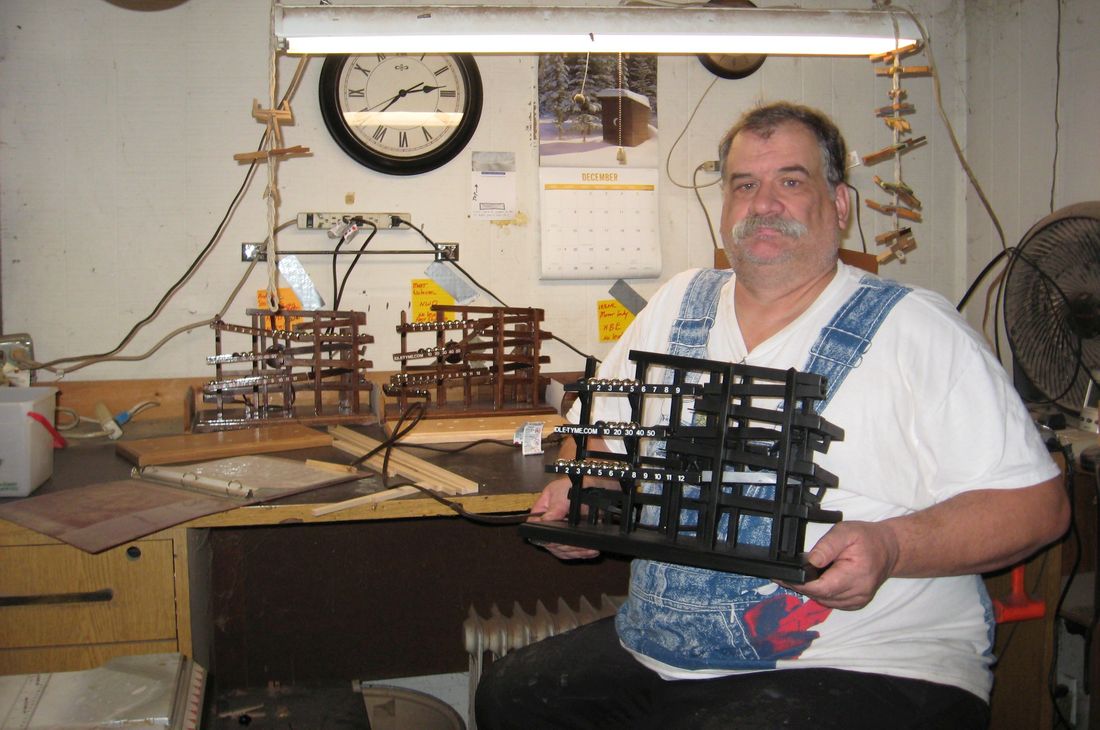
That's where all the tough detailed work starts to happen. The very top image on this page is my assembly workshop. I have wood stored out of view, but the making of the parts and assembling as well as testing of the clocks is all done here in that view. In that image you can see three clocks that are in the middle of their testing process, Against the wall and to the right. Now it is time to transform these boards into the parts needed for the clock to become the clock. The parts vary in size from as large as the base as seen below. With it's thirteen square holes that the vertical posts mount into. All the way down to the small parts seen laying on the surface of the base. The thirteen square holes have to be in the correct location to within 1/16th of an inch or the parts of the clock will not align correctly. In addition, these holes need to be within a thousandth of an inch in size, or the posts will also not fit correctly. A tiny bit too small, and the post can not go into the hole, and the other side even the smallest amount too large and the post is too loose and will not stay in place. 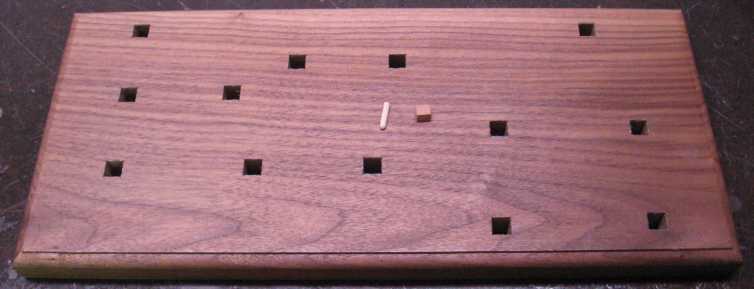 Plus think, what does it take to make a square hole?
Some pieces have loose tolerances,
or at least what I call "Loose"
1/16th of an inch. In most
wood working terms this is very
tight. But then again many
pieces have tolerances that are
very tight, almost like metal
working tolerances like a
thousandth of an inch 0.001"
There are one hundred and sixty two (162) different parts that are made from those boards. Each one needing to be cut to thickness, width and length with the above varying levels of tolerances. Then of course all these 162 parts need to be assembled into the clock itself. I remember back in the days when we had the large production staff, a single clock maker could make five clocks a day. And if the clock maker was very good and pushed really hard, like I did most days, and if they were willing to spend a little overtime like a 10 hour work day they could actually make ten clocks a day. But the average person on and average day with an average effort made 5 a day. Right now I can make one clock in about five to six days. Back then I failed to realize how much time was spent by our support crew that did all that planing, sawing, cutting, and making sub assemblies that the clock maker used to assemble the clock. Now doing it all by myself It is amazing to see how much work was done in the background. What was at least five clocks a day, is now one clock in five to six days! Recently I kept track of how many steps it take to assemble a clock. I was amazed myself. And it explains why it takes me five to six days to assemble a clock. There are 670, yes six hundred and seventy distinct and separate procedures done to make the clock! I knew there were a lot of steps to make one of these, but i did not imagine it was that many. Fascinating is it not? Now once the clock is assembled. Now comes the time to test the clock. It is first tested to see if the balls roll correctly through all the corners and along all the tracks. Then of course the balances of the display teeter-totters are checked. And adjustments are made where needed. Once it appears to be all good. the clock moves into the actual testing phase of it's life here in my shop. This we did 40 years ago and it has served us well. Because there are clocks out there to this day still running perfectly after forty years of service. After done being assembled and the initial check-out, the clock is set up, time set, and left to run. This I call the "Initial Set Up" The clock is watched all day as I am working on the next clock. To see if it makes any mistakes of any type. Dropped balls, in-correct teeter-totter actions, or any error of any kind. If some are observed, the problem is determined, and corrections and or adjustments are made to remedy the situation. The clock is in this "Initial Set Up" and it must operate perfectly with no errors what so ever of any kind for at least twenty four hours. If any error is discovered in any way, a remedy is made, and it is again set up to run again. In addition the timer of the twenty four hour is re-set to zero again. It MUST run perfectly for twenty four hours. No matter how many times it takes to meet this requirement. It could stay in this "Initial Set Up" for a week even, if it takes that long to make sure it runs correctly for at least twenty four hours with perfect time keeping and no dropped balls or errors of any kind. Once it has passed this "initial Set Up" testing, it now goes in to gets it's finish applied. Of course the clock is made as dust free as possible. It then gets it's first Preservative coat, Where a furniture grade Preservative is applied to the clock. And it is left to cure for twelve hours (Usually Overnight). The following Morning the clock now gets it's "Seal Coat" This seals in the level of moisture in the clock so it will not warp or crack later. And again it is left to dry overnight. Now the clock is brought back out to the work desk and it's numbers are applied one by one. And once applied a thin layer of the sealer is applied over them again and left to dry for about six hours. Once dry now the final glossy finish is applied final finish. And it is allowed to cure for twenty four hours. The Black Satin is slightly different, and includes two more additional steps. (and an extra day in the finish room) but still similar just a few more steps to the process. Now the clock moves into the final testing phase. "Final Set Up" In this Phase of testing the clock is again set up to run, just like it was in the "Initial Set Up" And it must run perfectly in every way just as it had to before, but with one major difference. Instead of a Twenty Four hour test window, The window now is SEVEN DAYS LONG! The clock must keep perfect time, and have no errors of any kind for Seven Days! It could have been running perfectly for five days, and on the sixth day, it drops one ball, or it is a minute fast, it doesn't matter what the error is, if it hasn't ran perfectly, a remedy is made and that seven day long test is started all over. It does not matter how long this takes. Once it does run PERFECTLY for seven days straight, It is then cleared to be shipped. I hope you all found this interesting and informative and have a better appreciation of what it took for your clock to come to you. Joe Mayenschein |



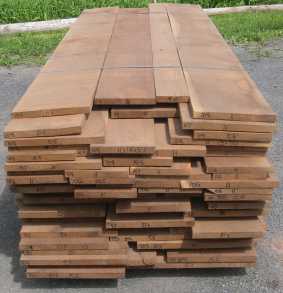 After
they are done being dried
in the kiln to the correct
moisture content,
Too wet and it's hard to
work with and can warp,
too dry and it tends to
crack and split.